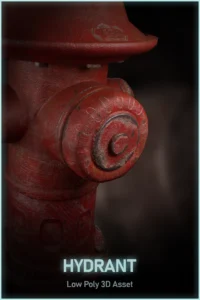
This is my first high to low poly bake workflow hardsurface 3d model, useful for practice afterlearning the whole process. Trying to maintain realism despite optimization for a ready game asset, not using edge chamfers with weighted normals with a unique smoothing group, instead using separate smoothing groups. Hydrant is part of a Urban 3DModels set available soon.
I usedPureRef to collect images of different hydrants with similar proportions/forms and materials/details like rust and highlight edges effect, both real and 3D models.
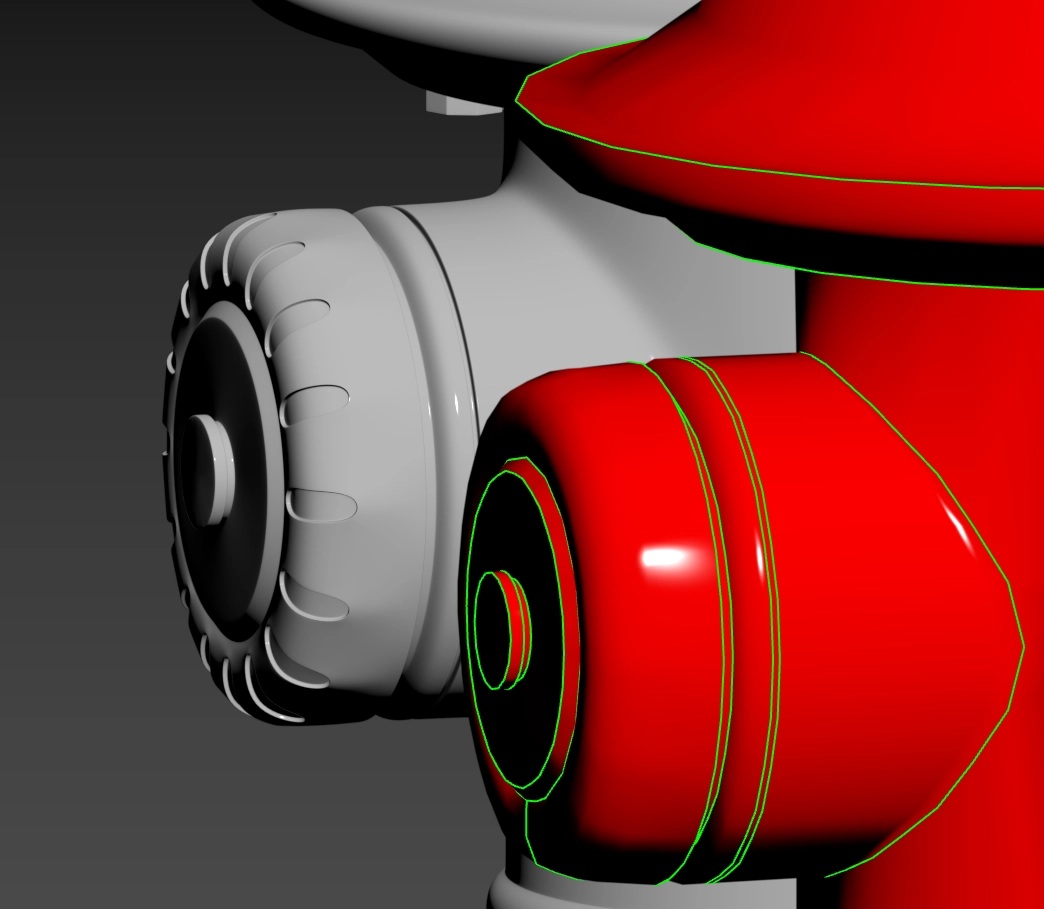
3D MODELING
Using 3DSMAX 2025, Starting with extrudes and chamfers for the base form, swift loops tool for extra curvature in the cylinders, extra edge loops and refine topology to fix normal artifacts and optimize total polys.
For the High Poly version, started with the low poly, adding extra details to the model, mostly bevels. After that, I used Chamfer modifier to create control edge loops, with some extra edges in zones where it warped when subdividing.
UV MAPPING
Applied one single material ID for the whole mesh including little parts like nuts that don’t need a separate material.
UVs created in 3DSMAX, Unwrap UVs tool to set uv islands per smoothing groups to avoid hard edges errors when baking, trying to hide seams, optimizing uv space and straighten borders for better texturing.
TEXTURING
Into Substance Painter, When baking, I used matching by name to avoid errors at 4096 px channel maps, using average normals projection cage to avoid hard edges missing data, but keeping topology with its own uvs separated where the baking projects high poly details for better results. Thanks to a non destructive workflow I could go back to the mesh when baking errors were presented and fix it.
There was no need to use high poly ID channel. First, Used a base metal with highlighted edges and detail height, then I applied a new layer for a decolorated metal effect.
Next I applied a height/rough effect for a thick color and variations details, Finally applied a dust/dirt effect using AO channel map and Position lighting to cover upper parts.
The textures were exported in 4096 x 2160 px PBR Metallic Roughness and packed for UE using Base color, Normal and ORM.
RENDERING
For Mesh Channel maps, UVs+matID and Highpoly I used substance Irray render.
IntoUE5 I created a scene with 3 point lighting setup, Key, Fill and backlight to separate mesh from background, plus a Skylight with interior studio cubemap for not to lose details.
Using theMRQ applying Pathtracing render with denoiser and antialiasing.
For the enviroment render, I used Deferred plus nanite/Lumen render using theEnvironments Bundle 6 Maps Project bySnowyTrain Market, Neon city map, to try to capture ingame.